开始前准备
请先准备:
- 一个终端应用(见下方推荐)
- 一个可用的固件项目(或新建一个)
推荐终端
推荐使用 Ghostty。macOS (Homebrew):brew install --cask ghostty
# 各发行版安装方式见 https://ghostty.org/docs/install
推荐使用 Alacritty。winget:winget install Alacritty.Alacritty
步骤 1:安装并启动 Embedder
curl -fsSL https://embedder.com/install | bash
irm https://embedder.com/install | iex
步骤 2:登录账号
首次启动交互会话时,你需要登录:
按提示完成登录。如果网页没有自动打开,点击终端里的链接即可。
登录后凭据会保存在本地;如需切换账号,使用 /logout。
步骤 3:开始第一轮会话
cd /path/to/your/project
embedder
创建项目
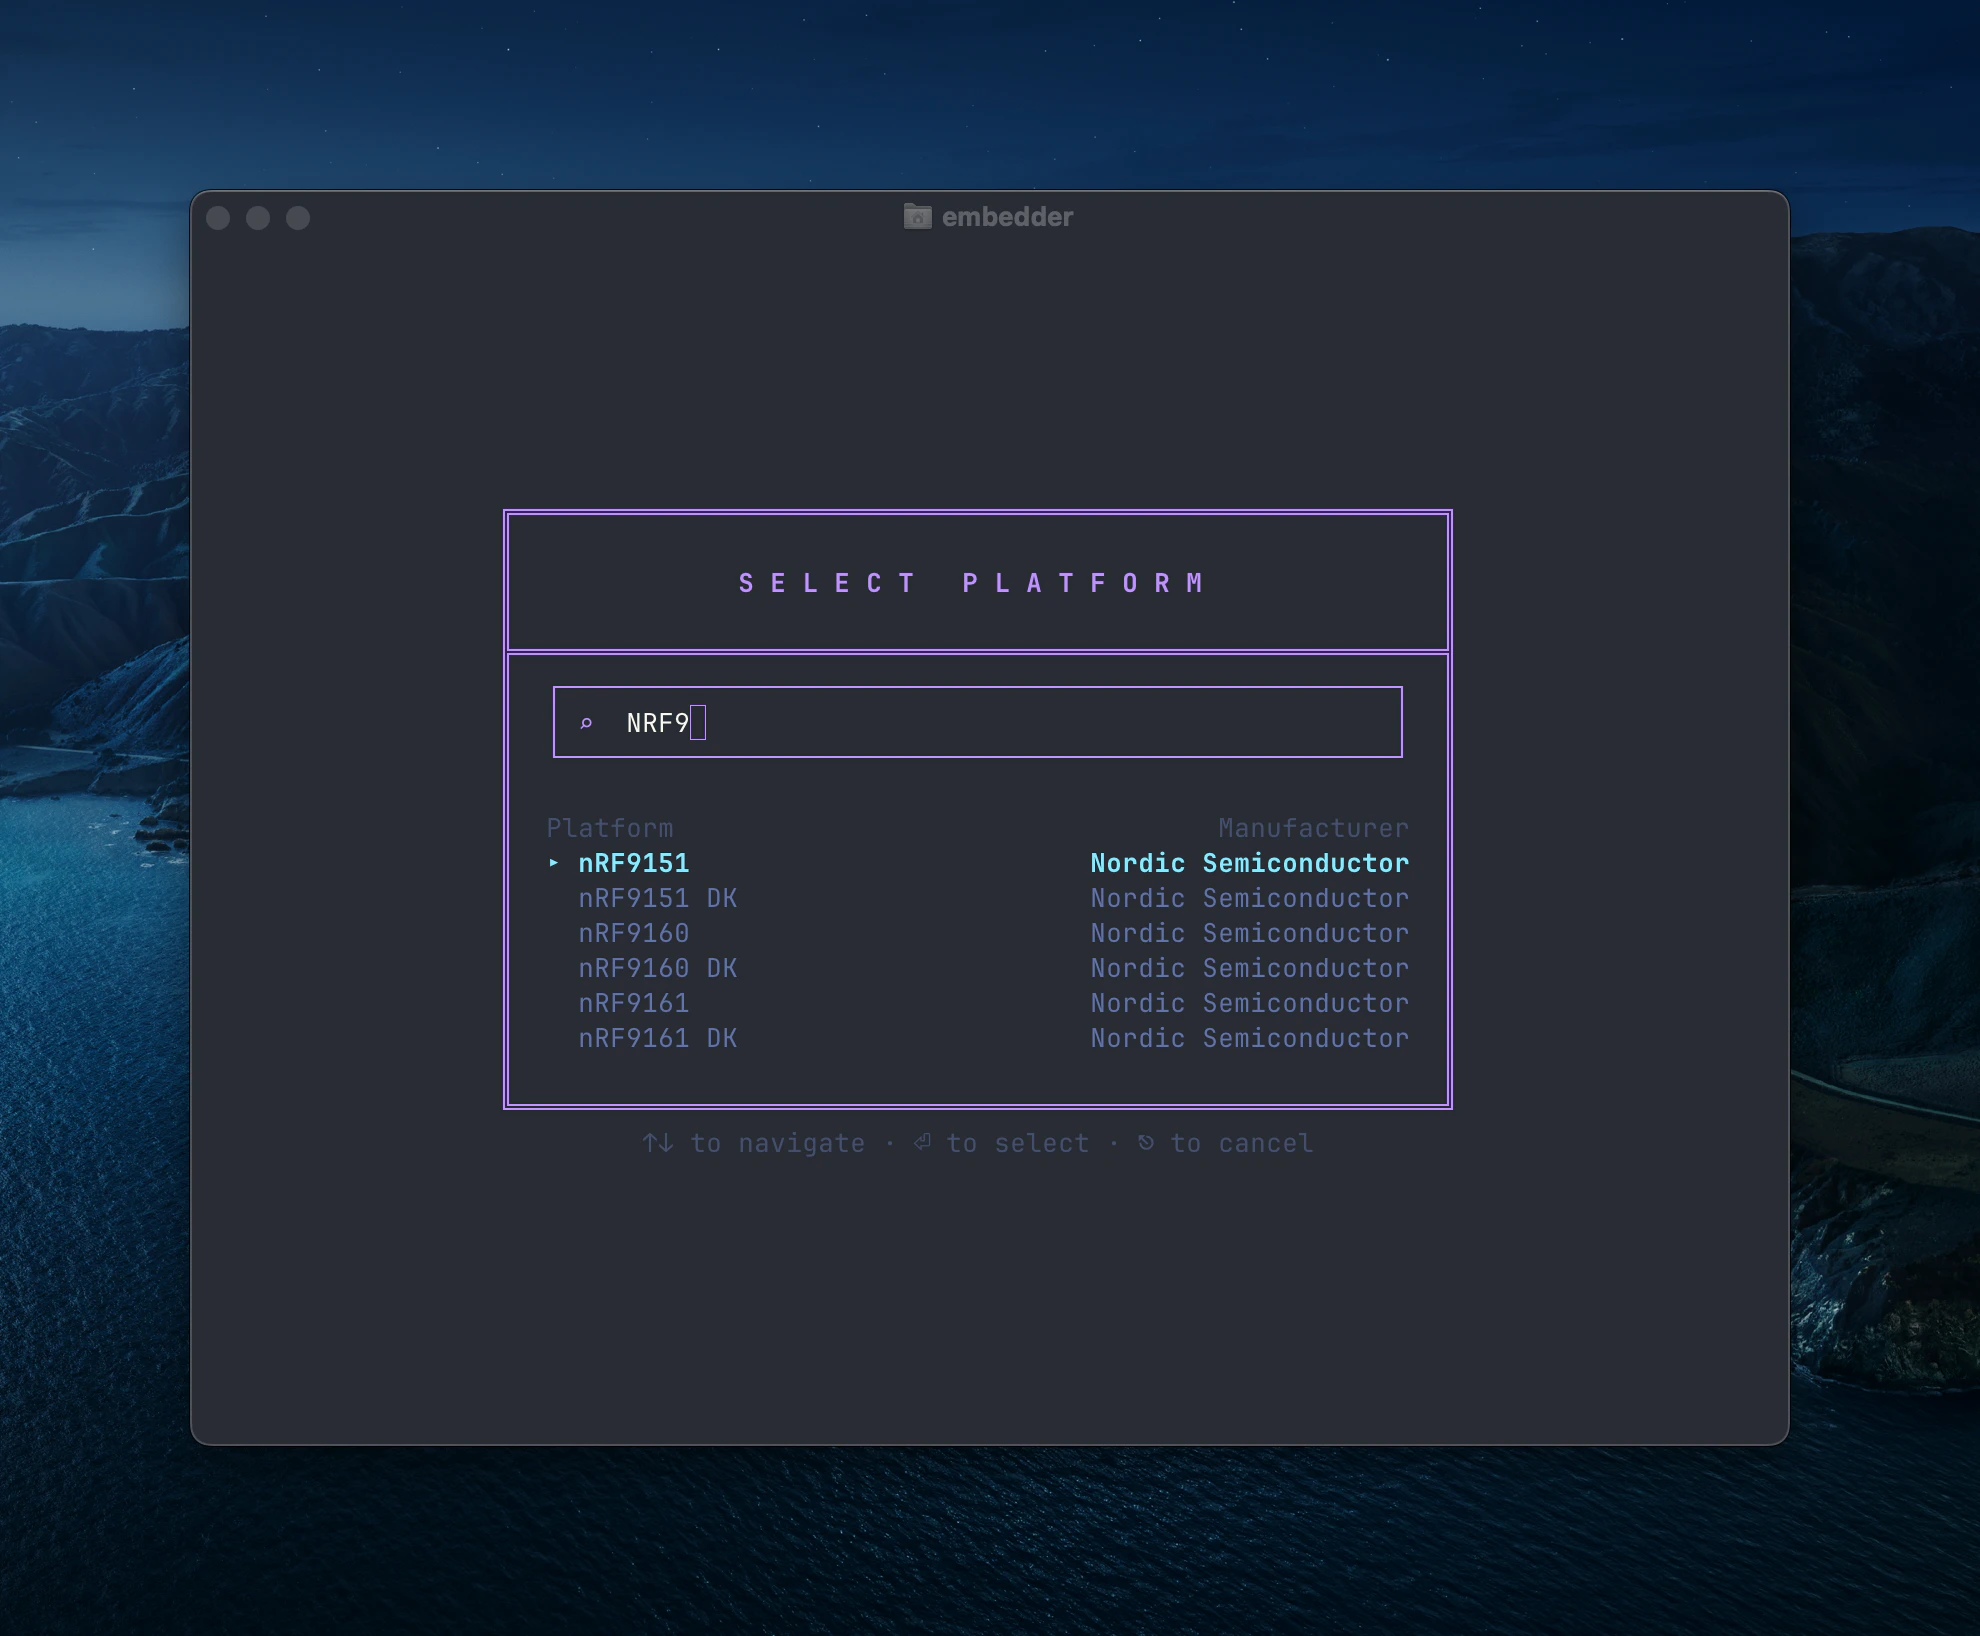
选择平台
启动后,Embedder 会让你选择硬件平台。可以用搜索框过滤,方向键选择,Enter 确认。
请选择与你硬件匹配的平台。Embedder 会基于平台官方文档进行回答和代码生成。
自定义平台请参考 常见工作流。
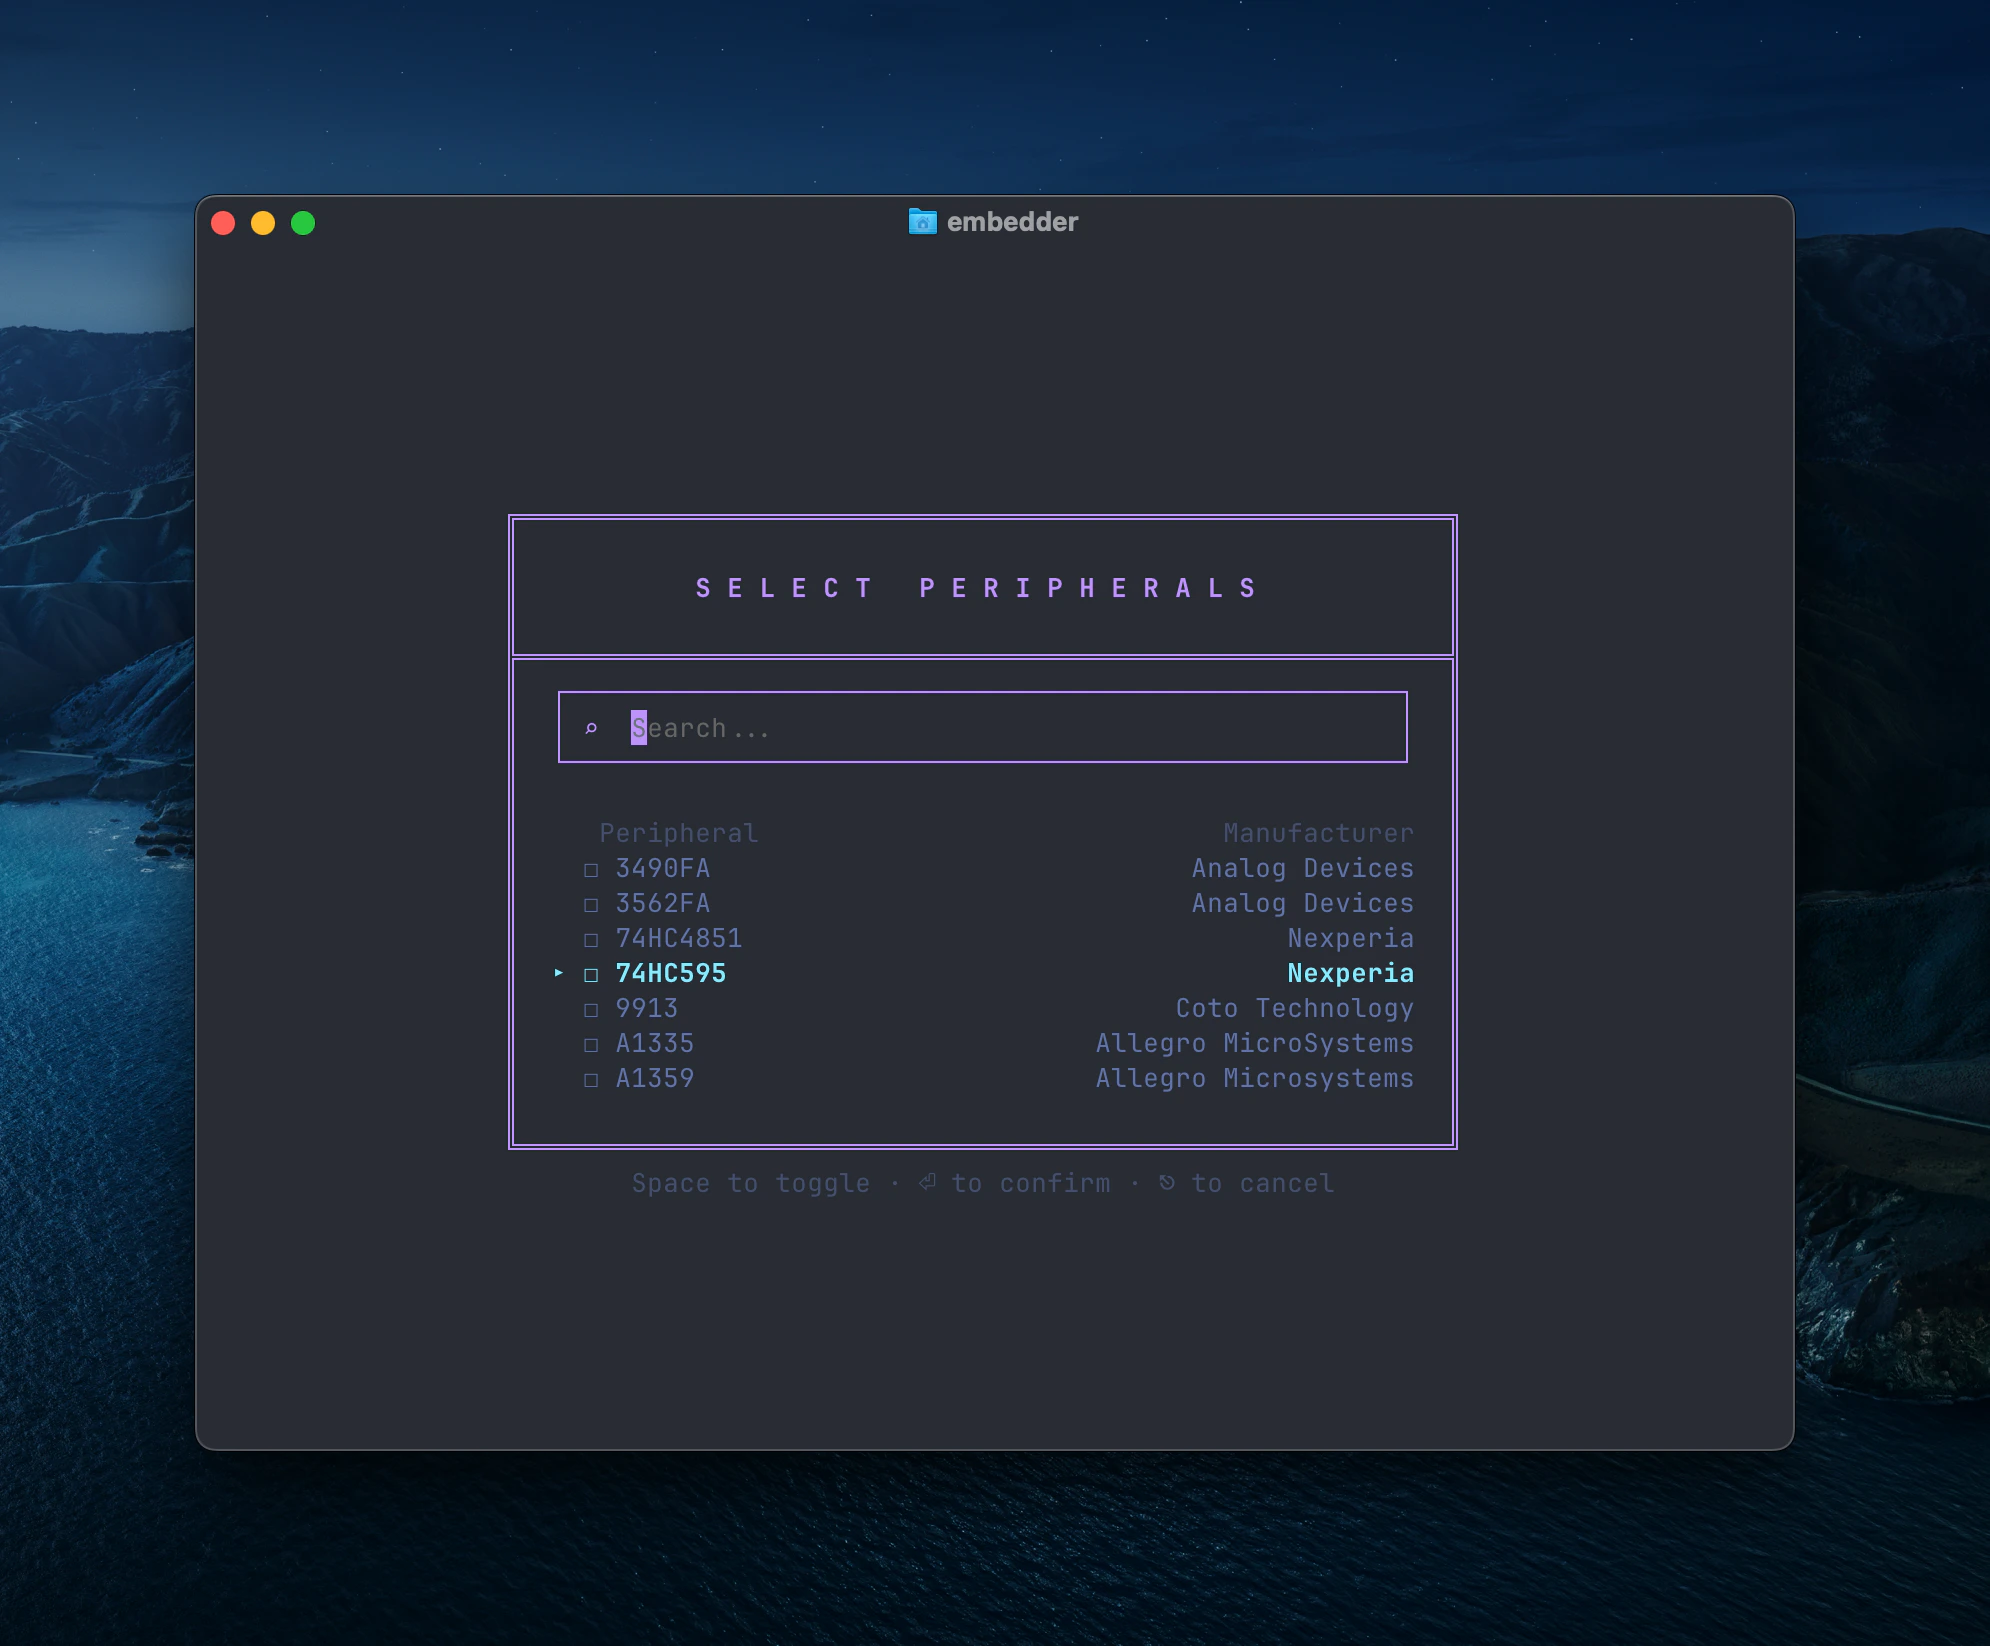
选择外设
完成平台选择后,Embedder 会让你配置外设。
搜索目标组件后,使用方向键移动,按空格勾选,Enter 完成。
自定义外设请参考 常见工作流。
你可以稍后用 /peripherals 修改外设配置。
步骤 4:提出第一条问题
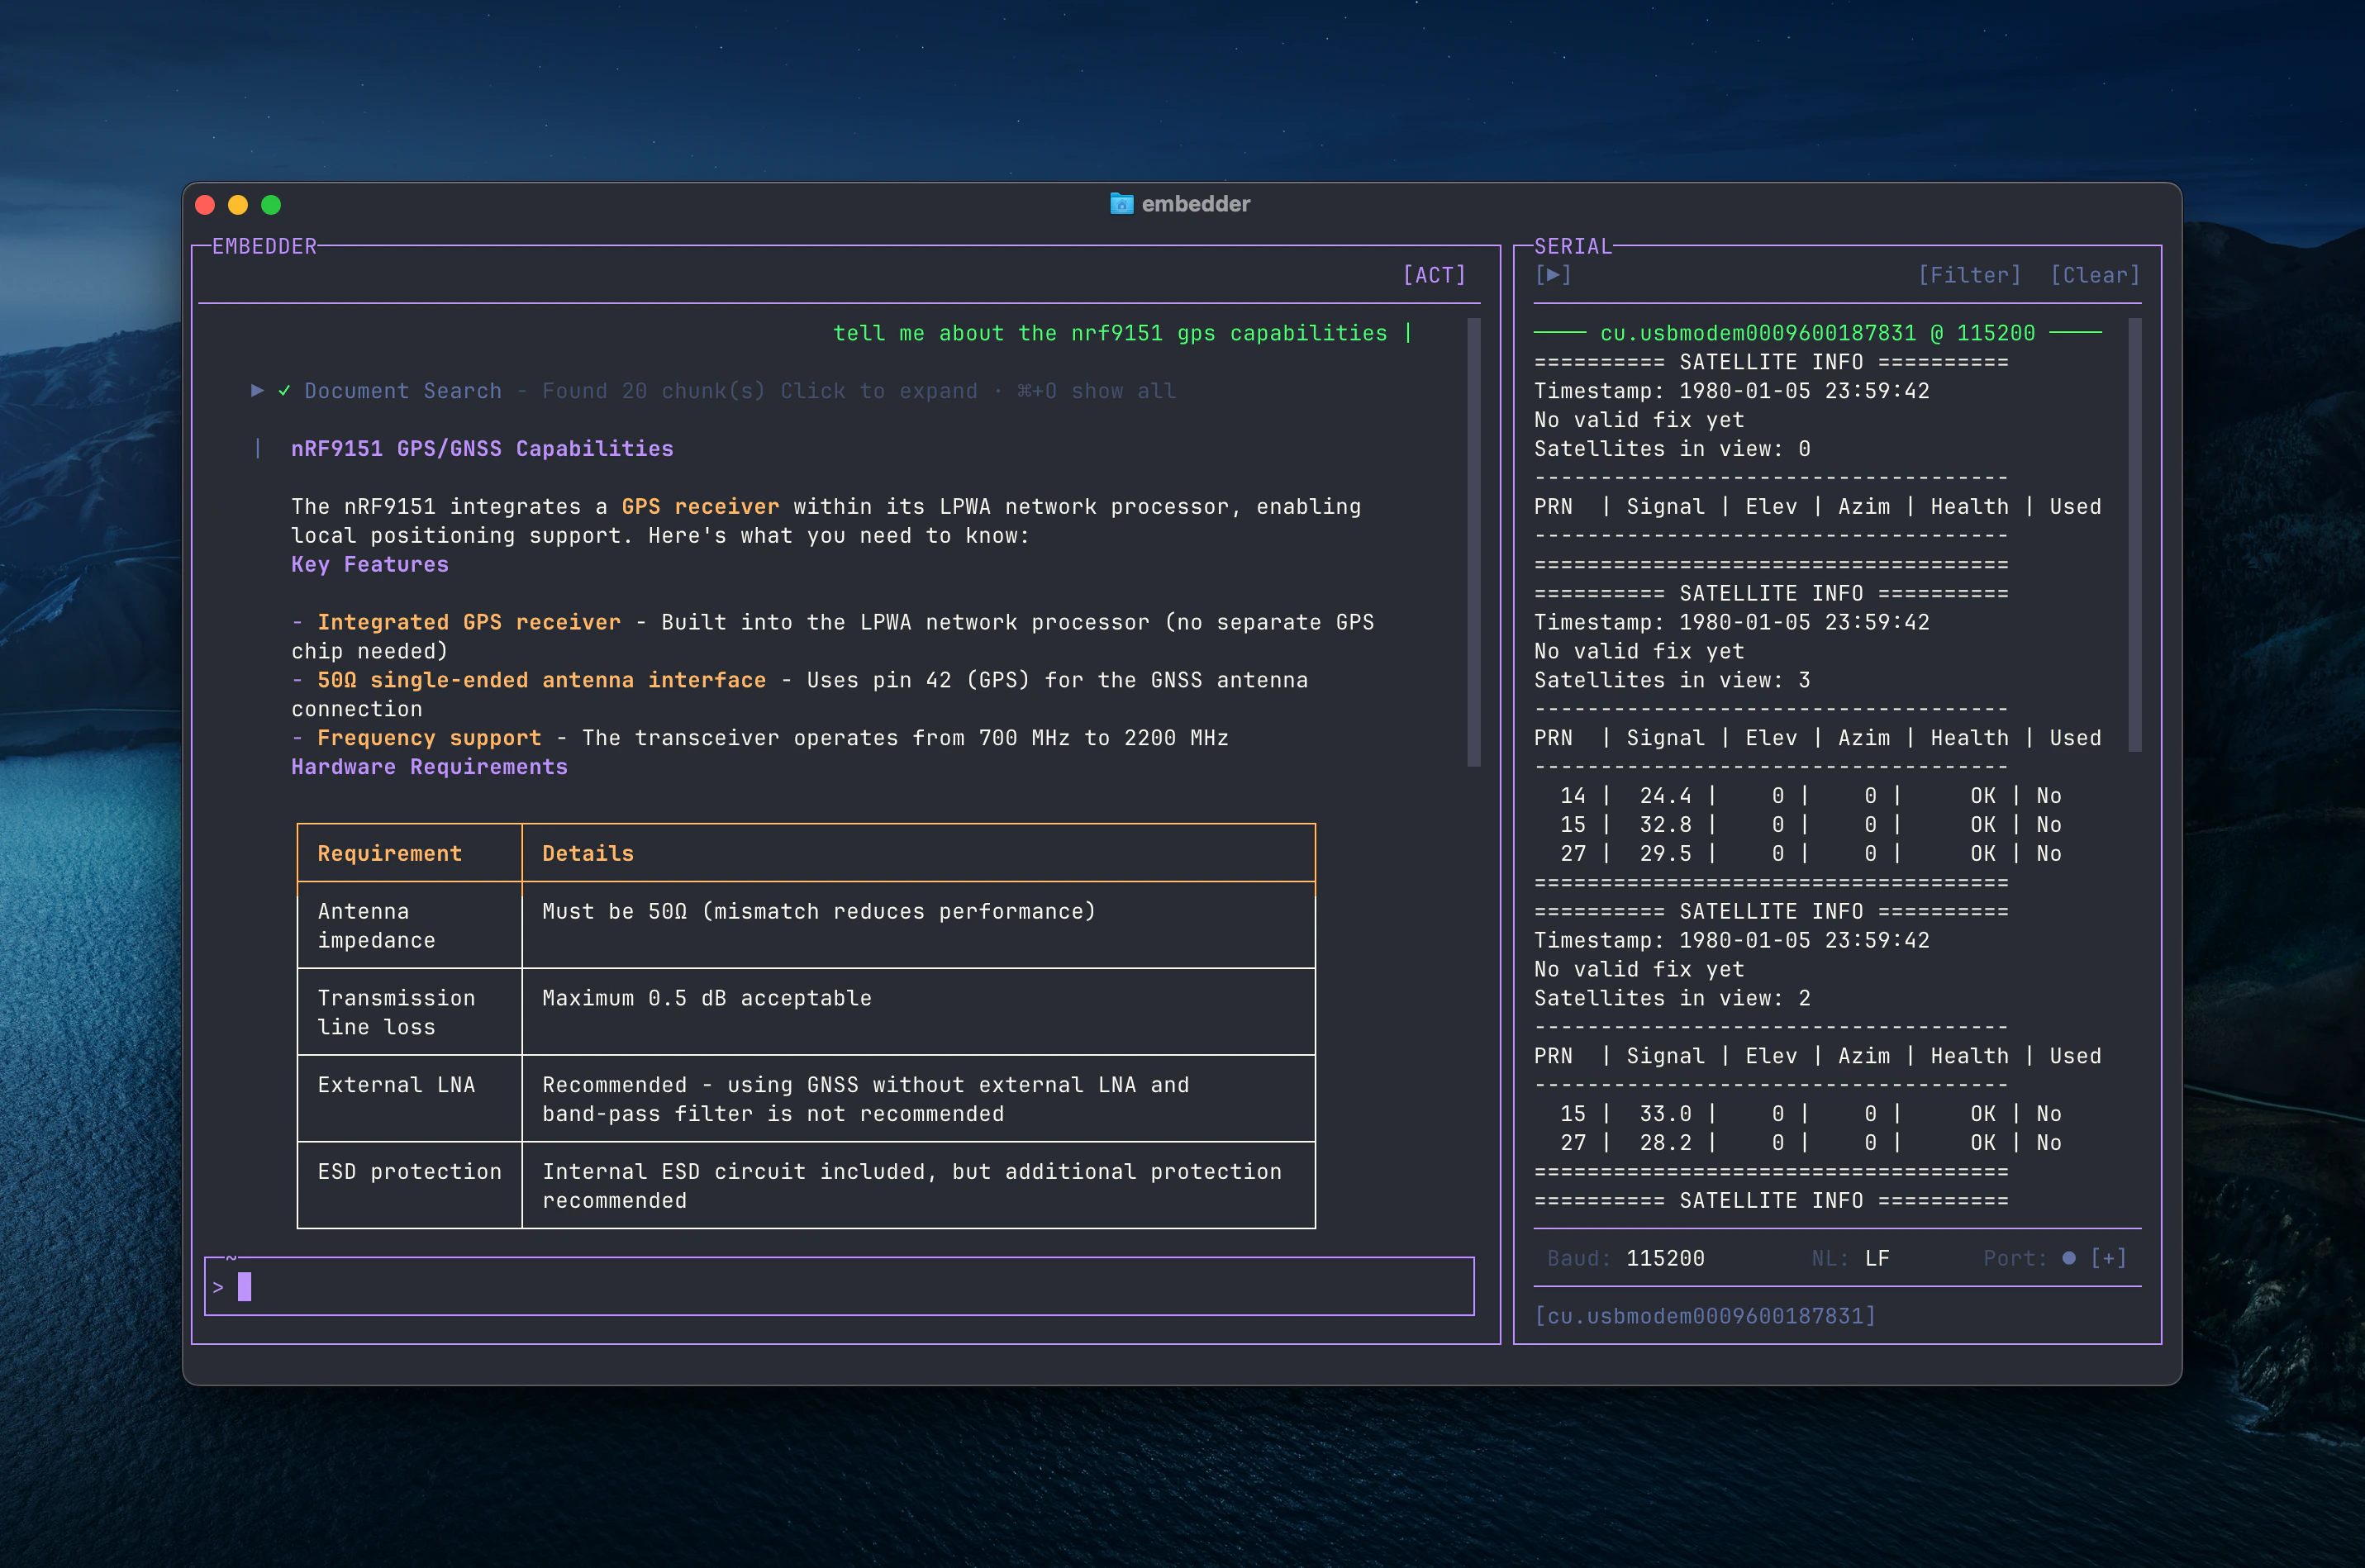
平台和外设配置完成后,你可以直接用自然语言提问。Embedder 会自动参考相关数据手册、参考手册和 errata。若设备已连接,它也会读取实时串口输出。
示例:
tell me about the nrf9151 gps capabilities
what does this project do?
where is the main entry point?
explain the folder structure
Embedder 会按需读取项目文件和数据手册,你不需要手动喂大量上下文。
步骤 5:完成第一处代码修改
先试一个简单任务:
add a function to toggle the LED on GPIO pin 13
- 找到目标文件
- 读取相关寄存器定义
- 给出带引用的修改建议
- 请求你的确认
- 应用修改
在你授权前,Embedder 默认不会直接改文件(除非你明确允许)。
步骤 6:用 Embedder 做 Git 操作
示例:
what files have I changed?
commit my changes with a descriptive message
create a new branch called feature/uart-driver
show me the last 5 commits
help me resolve merge conflicts
步骤 7:修 bug 或加功能
你可以直接描述问题:
my SPI peripheral isn't responding - help me debug
I'm getting a hard fault when I call HAL_UART_Transmit - why?
- 对照数据手册检查代码
- 排查常见配置错误
- 交叉检查 MCU 已知 errata
- 给出并验证修复方案
步骤 8:继续探索常见工作流
常见提示词:
写驱动
write an I2C driver for the BME280 temperature sensor
set up PWM on Timer 2 with a 1kHz frequency
initialize the ADC for 12-bit resolution on channel 5
help me port this STM32 driver to nRF52
把 Embedder 当成“熟悉你硬件的资深固件工程师”来提问,效果通常更好。
接下来做什么
继续阅读 最佳实践 或 常见工作流。
获取帮助
- 在 Embedder 内:输入
/help
- 文档:浏览各主题页面
- 社区:加入 Discord 获取支持