Peripherals are the external components your project talks to — sensors, displays, flash chips, transceivers, and more. Adding them lets Embedder reference the right datasheets when answering questions and generating drivers.
You’ll see the peripheral picker during initial project setup, right after you pick a platform. You can reopen it anytime with the /peripheral command.
The interface differs slightly between the terminal and the VS Code extension. Pick the one you’re using:
Select peripherals from the catalog
In the chat panel, click the Peripherals: None button (or Peripherals: <list> if you’ve already added some) to open the picker.The picker appears as a card titled Add peripherals, and any peripherals you’ve added before are listed under Existing: at the top.Search for a part
Type a part number or name in the Search peripherals… input. The list filters as you type and shows the manufacturer alongside each result. Toggle your selections
Click a row to toggle the checkbox (☐ → ☑). Or use the keyboard: arrow keys to navigate, Space to toggle, Esc to cancel. You can select as many as you need.The hint bar at the bottom of the card shows: ↑↓ navigate · Space toggle · Enter confirm · Esc cancel.
Confirm
Click the Add button (it shows the count, for example Add (3 selected)), or press Enter. The card closes and the peripherals are attached to your project. Add a custom peripheral
If your part isn’t in the catalog, upload its datasheet. Embedder indexes the document so the agent can cite it directly when you ask hardware questions.Open the custom peripheral form
At the top of the picker list, click + Add peripheral. The card switches to Add custom peripheral. Name the peripheral
Type a name into the input — typically the part number, for example BME280 or W25Q128.
Attach datasheets and schematics
Click + Browse PDF files and select one or more PDFs from your computer (datasheet, errata, application notes, schematic exports). Each file appears as a row with a Click to remove action if you change your mind.Upload everything you have. More documentation gives Embedder more grounded references when answering questions about that part.
Create
Click Create (or press ⌘+Enter / Ctrl+Enter). The card shows Creating peripheral · Uploading documents, please wait… while files upload, then closes once the peripheral is added.Click Back at any point to return to the picker without saving. Select peripherals from the catalog
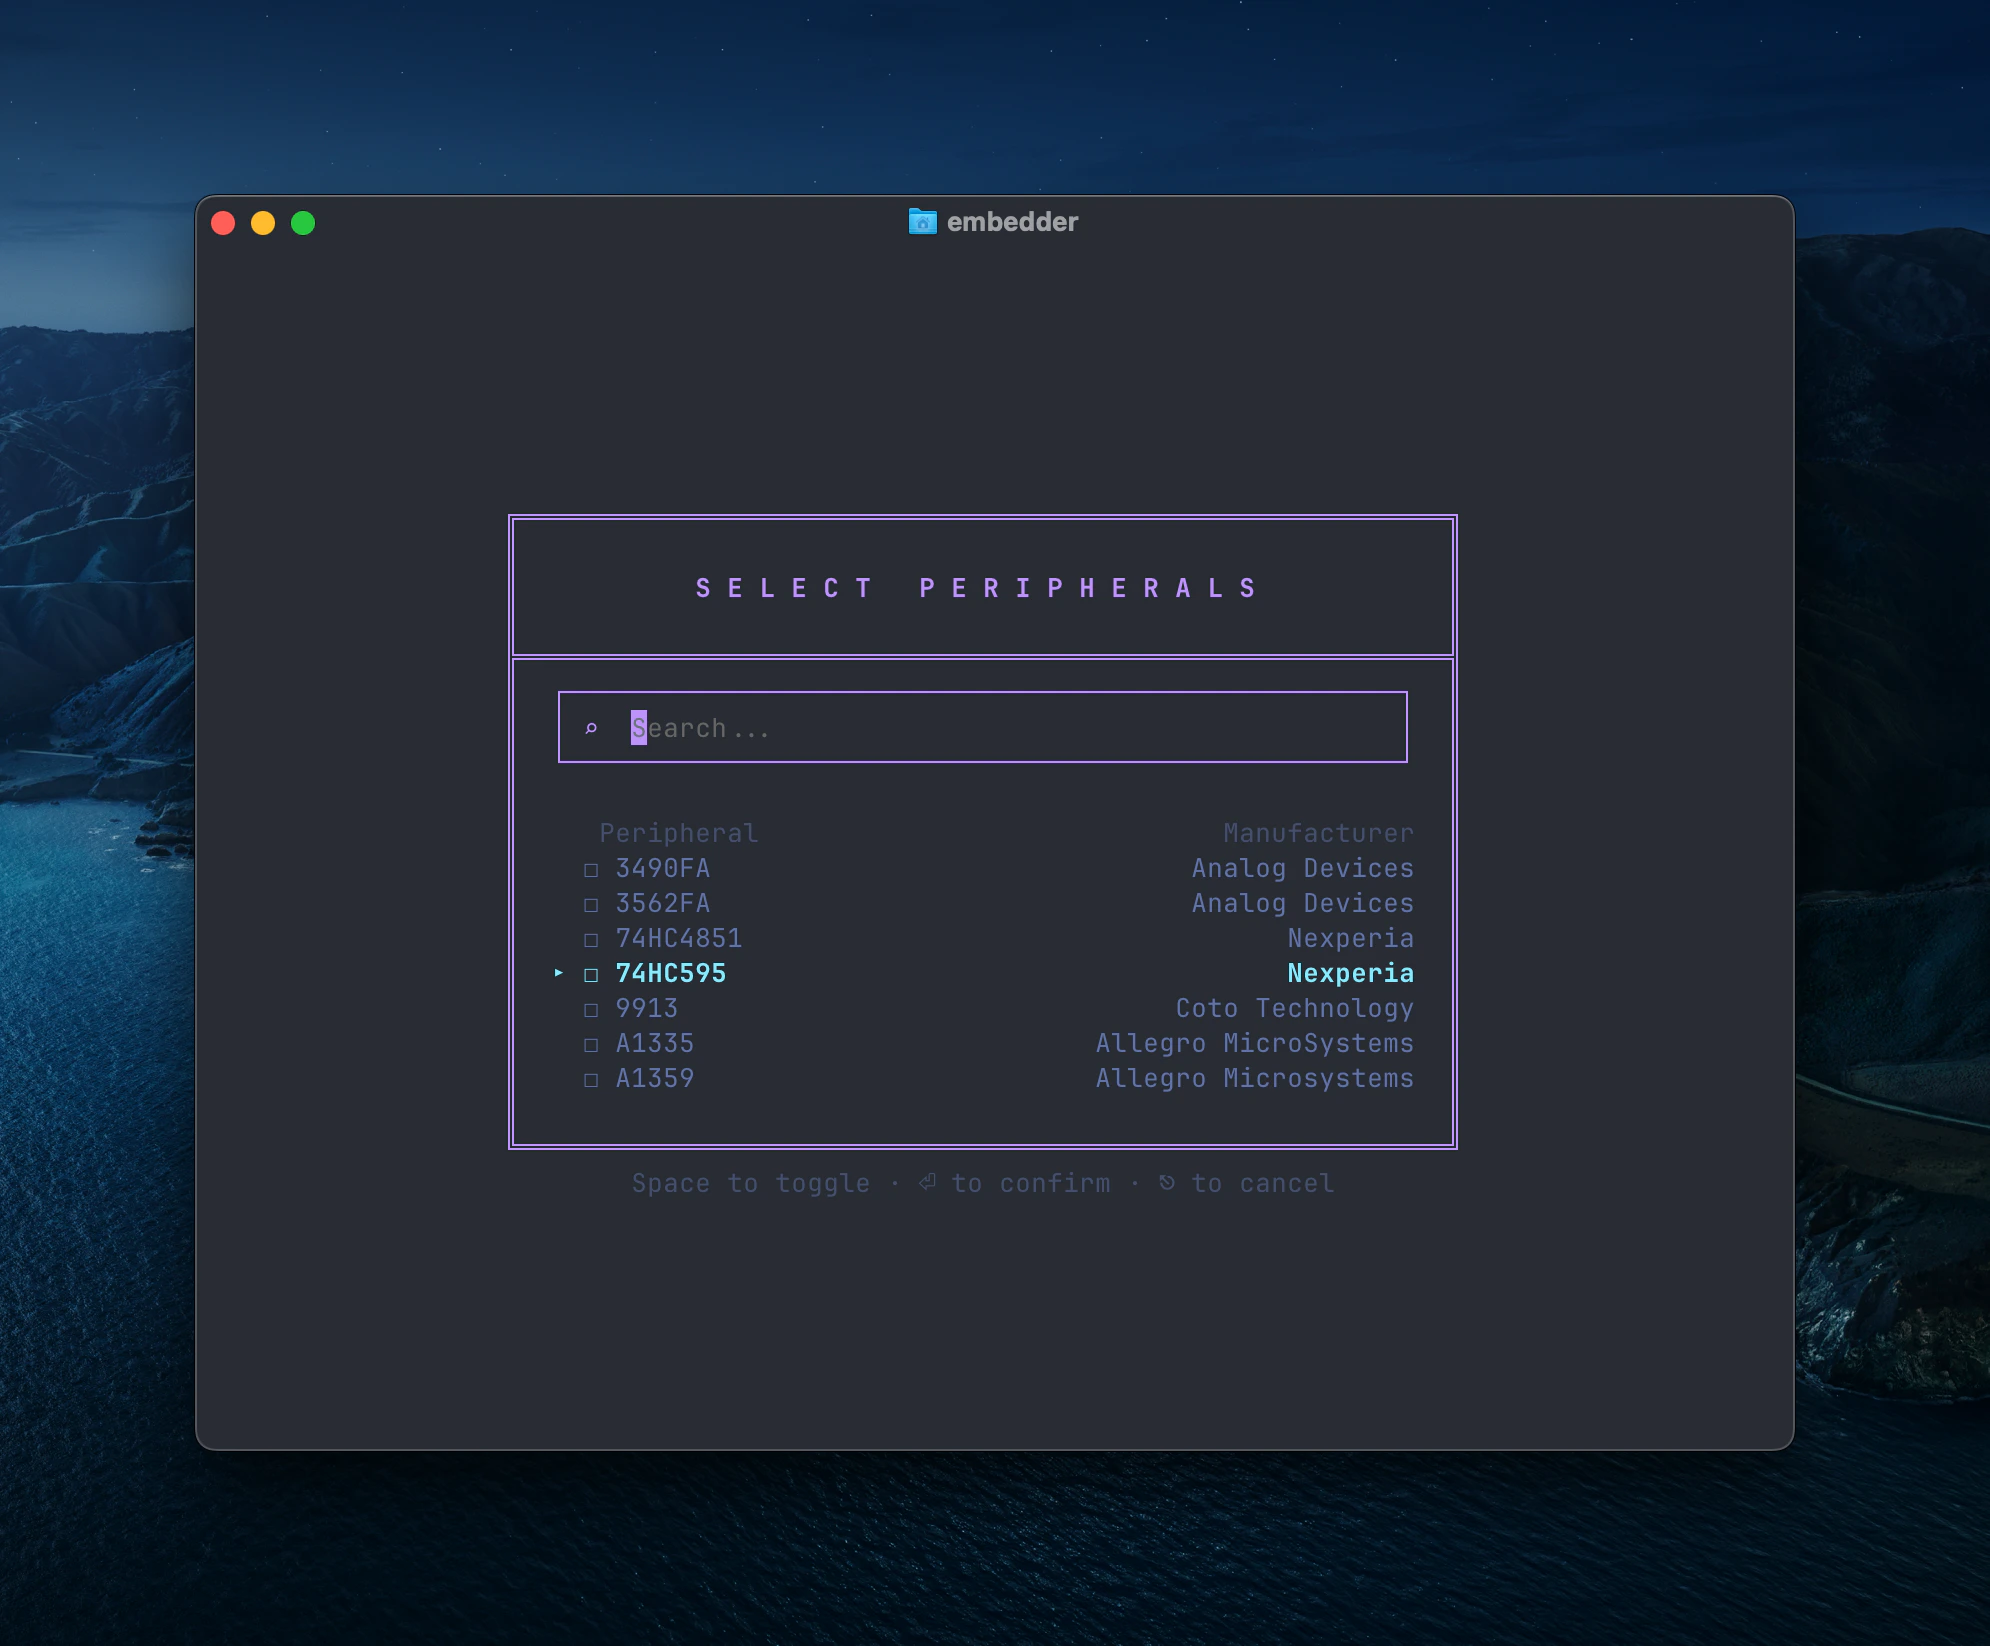
Search for a part
Type a part number or name in the search box (for example, BME280, W25Q128, SSD1306). The list filters as you type, with the manufacturer shown alongside each result.
Toggle your selections
Use the arrow keys to navigate and press Space to toggle a peripheral on or off. You can select as many as you need in one pass.The footer shows the active key hints: Space to toggle · Enter to confirm · Esc to cancel.
Confirm
Press Enter to add your selections to the project. You’ll see a confirmation toast like Added 3 peripheral(s). Anything you’d already added is skipped with an Already added: notice.
Add a custom peripheral
If your part isn’t in the catalog, you can add it yourself by uploading its datasheet. Embedder indexes the document so the agent can cite it directly when you ask hardware questions.Open the custom peripheral form
From the peripheral selector, navigate to the Add a peripheral action (shown as Create a custom peripheral with documentation) and press Enter. The Add Custom Peripheral screen opens.
Name the peripheral
Enter a name in the Peripheral Name field — typically the part number (for example, BME280, W25Q128). Press Enter to advance to the file step, or Tab to switch fields manually.
Attach datasheets and schematics
With the Documentation & Schematics field focused, press Space or Enter to open the file picker. Select one or more PDFs (datasheet, errata, application notes, schematic exports).Selected files appear in a numbered list. Press the corresponding number key (1–9) to remove a file you didn’t mean to include, or press Space again to add more.Upload everything you have. More documentation gives Embedder more grounded references when answering questions about that part.
Upload
When the footer reads Press Enter to upload and add peripheral →, press Enter. You’ll see an upload progress indicator while files are processed. The custom peripheral is added to your project as soon as the upload completes.
Custom peripheral support is available on Enterprise plans. If your account doesn’t have access, the Add a peripheral / + Add peripheral action will surface contact information instead of opening the upload form. Reach out to sales@embedder.com for access. Update your peripherals later
Reopen the picker any time to add or change components. Already-selected peripherals are filtered out of the catalog list so you only see what you can still add.
Run the /peripheral command from either the CLI or the VS Code chat input:
In VS Code, you can also click the Peripherals: <list> button in the chat panel — it fires the same command.
Last modified on May 11, 2026